Download These Installation Instructions as a PDF
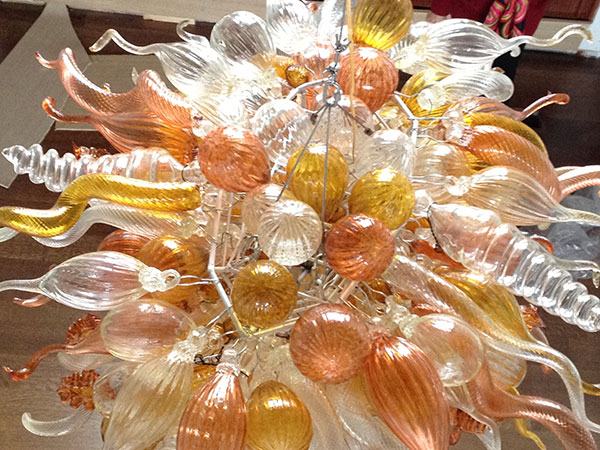
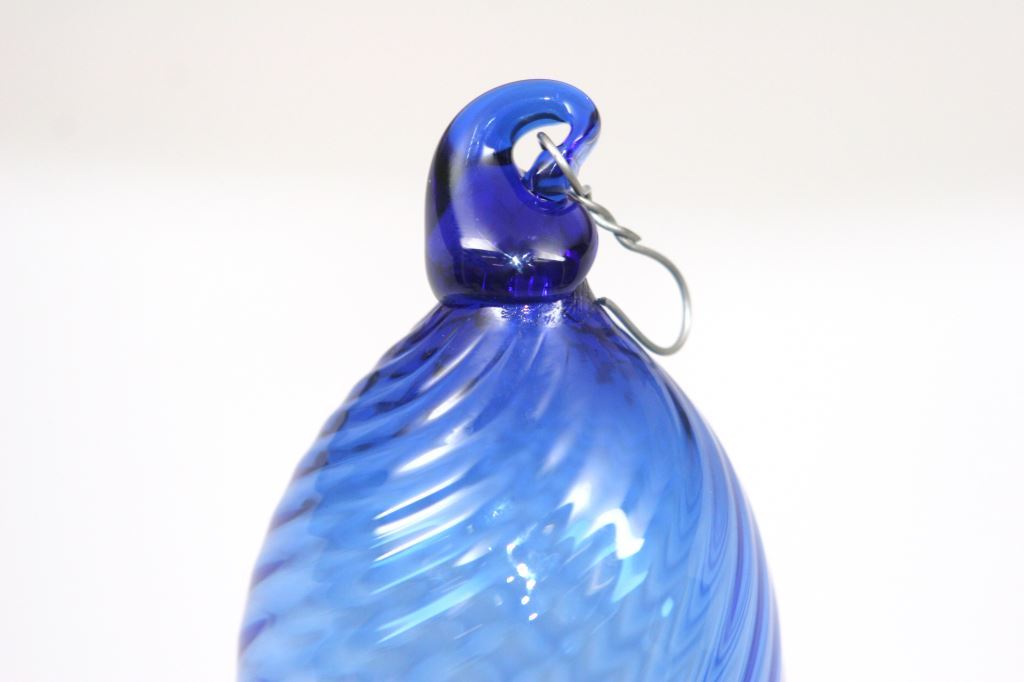
Have the cage (armature) securely attached to the ceiling by a professional electrician using the pre-cut and pre-looped high tensile strength cable provided with the chandelier. This installation is no different than for any other "store bought" chandelier. The supplied electrical cord may be attached to the support cable using clear plastic ties, thin wire, or sheathed with a cloth cable cover which is available online. Please ask your installer to bring a ceiling canopy in your preferred finish as these are not provided with the chandelier. Each chandelier part has a glass loop on the end, which is how the components are attached to the cage. Start by attaching the parts at the bottom of the cage, distributing the shapes and colors evenly as you move up the armature. When the bottom row is full begin hanging from the next row up. At the end, you shouldn't have more than one or two of any one type of part left to hang.
 Be careful to not stack the parts too tightly as you may run out of parts at the top. There are a few additional pieces included with each chandelier to offset any breakage that may occur during shipment and to ensure that there are more than enough parts.Install the glass with the lights switched on and dimmed. The pieces should more or less hang perpendicular from the surface of the cage. Step away each time after hanging 10-12 pieces and view the chandelier from a distance. This will allow you to see any gaps in the glass, which can be easily filled by rearranging the pieces as needed. It's much easier to make adjustments as you proceed rather than after your chandelier is fully assembled. Note that there is no wrong way to assemble a chandelier. It's similar to arranging flowers in a vase. None of our customers have ever had any real trouble with the installation and assembly of their chandelier.


